and now we are returning to the usual task, getting a copy of any seconds that you like from the video, cut the black sides and check if it has all the adjustments correct or if you see that the picture doesn´t convince you completely.
In my case, from the image taken until the final product, I have set these values:
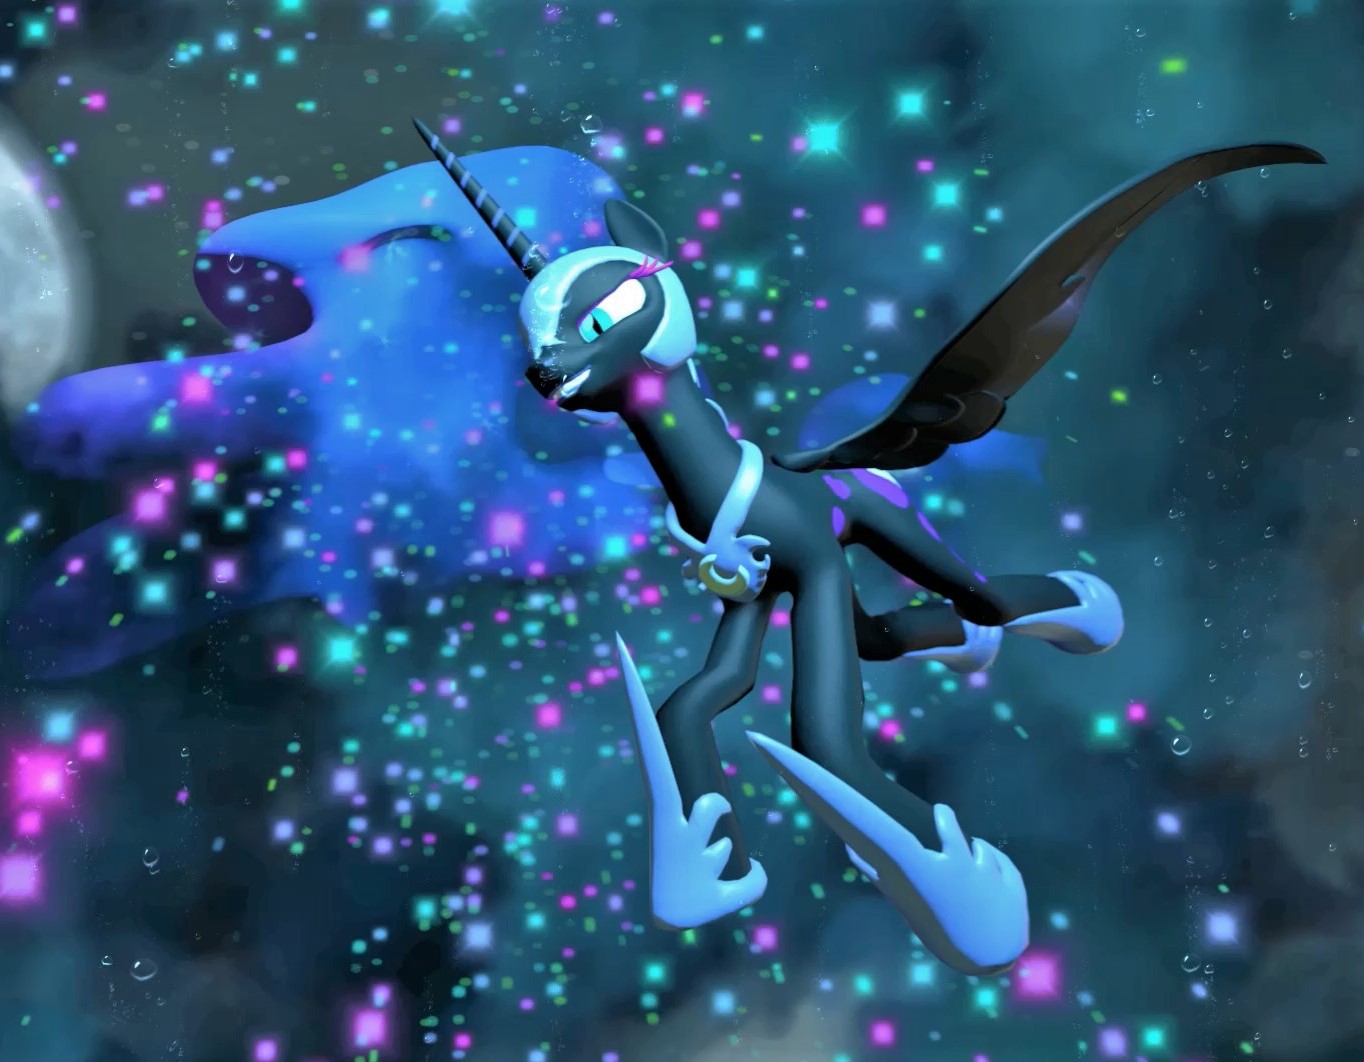
And there we have it. No sorcery needed for this one.
I have explained a lot of trivial/basic stuff but if I hadn´t done this in a detailed chronological order, I would have left a few holes in it(not to mention that it could become really confusing for spotting specific aspects/problems)
It also makes visible the editing process behind my edits in which I add the "PC edit" tag on the thumbnails (even though I haven´t edited a picture for a few months on mobile, so I will tag them as mobile (+PC) editions instead because they are the rare case these days).
Despite having repeated this one because of that excess of clarity and brightness in this >>4633 (realizing about that mistake after posting it, *facepalm), I have had fun while editing this and it was the right time to explain that the bubbles (among other filters in the video option) aren´t the standard options that I have used for this year and a half, not to mention that I have written in the values for the adjustments (I don´t usually do that)
I might have typed about this stuff in the previous thread but I believe that this is the most complete one that I have written on this board.